Installing updates during an initial product installation is something we are already used to from Windows installations - this process is called slipstreamed installation. However for Windows SharePoint Services Beta2 Technical Refresh this is something new. In a slipstreamed WSS 3.0 installation, the WSS setup files are able to find update files in the product's Updates folder, sequence them and then apply those files during product installation. This is similar to the same model which is also available for the Office 2007 clients - as described in Streamlined customization model for the 2007 Office System and Consolidated updated process for the 2007 Office System
Step 1: Preparing your environment
Setup a clean Windows 2003 Server with Service Pack 1 applied - in this example I have also installed a SQL Server 2000 with SP4 applied on the same server. You will also need to install the IIS components .
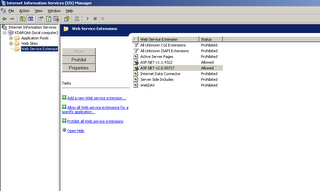
Install the .Net Framework 2.0 and enable ASP.NET 2.0 Web Server extensions in IIS. If you don't see the ASP.NET 2.0 components in the MMC snap in, enable them with the aspnet_regiis tool – see http://msdn2.microsoft.com/en-us/library/k6h9cz8h.aspx
Step 2: Install .Net Framework 3.0 RC1
Install the .Net Framework 3.0 RC1 (Formerly know as WinFX) http://www.microsoft.com/downloads/details.aspx?FamilyID=19E21845-F5E3-4387-95FF-66788825C1AF&displaylang=en
Accept the End User License Agreement and click the Install button.
A message will appear when the setup has completed successfully.

Step 3: Unpack the SharePoint Beta2 installation files and the Beta2TR patch files
Windows SharePoint Services Beta2 was distributed as an executable package - sharepoint_setup.exe. You will need to extract these installation bits – go to command prompt and use the following command:
sharepoint_setup.exe /extract:c:\WSS

Navigate to the extracted files and notice that there is an Updates folder - this should only contain a README.TXT file. You will need to extract the Beta2TR patch files to this folder - use the following command:
WSSv3b2tr-kb000000-x86-fullfile-en-us.exe /extract:c:\WSS\Updates
This will extract 3 msp files in this folder : sts.msp, wss.msp and wssmui.msp

Step 4: Install Windows SharePoint Services Beta2TR in slipstream mode
Install Windows SharePoint Services Beta2TR by clicking setup.exe.
Accept the User License Agreement and click Continue

Choose the Advanced Setup for installation on a single server or in a web farm. Choose the Advanced Setup if you are going to use a SQL Server 2000 or SQL Server 2005. If you choose the Basic installation option – SQL Server 2005 Express will be installed and used as database.

In the next step, you can choose Stand Alone install – which will also install the SQL Express database engine or you can choose web front end. If you specify web front end – you will need to specify the database server you will use later in one of the steps of the SharePoint Configuration Wizard.

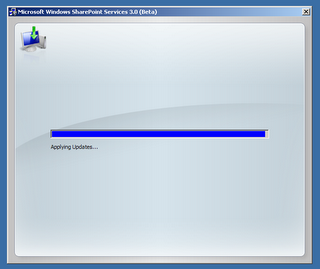
The installation wizard will first install the Beta2 files and afterwards the Updates as you see in the screenshot below.
Step 5 : Running the SharePoint Configuration Wizard.
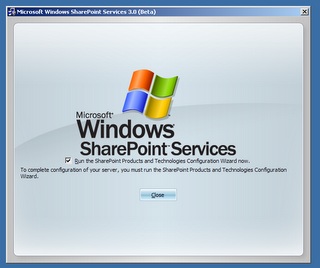
If you left the checkbox in the previous screen, the SharePoint Configuration Wizard will start up immediately. To run the configuration wizard manually, select Start, then Programs, Administrative Tools and SharePoint Products and Technologies Configuration Wizard.
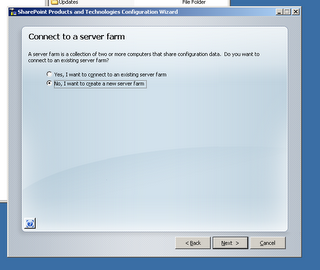
Select your server farm configuration - select "No, I want to create a new server farm" when you are doing a new installation (Even when you will only do a single server installation).
Specify the Configuration Database Settings - the database server,the database name and the database access account.
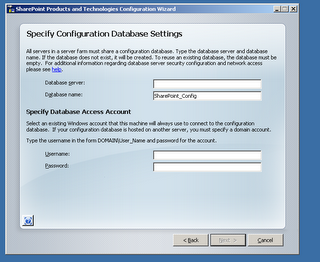
Choose the location where the SharePoint Central Administration site will be created and configure the authentication provider for the SharePoint Central Administration site. Kerberos is the preferred installation option but requires some extra configuration – see http://support.microsoft.com/?kbid=832769
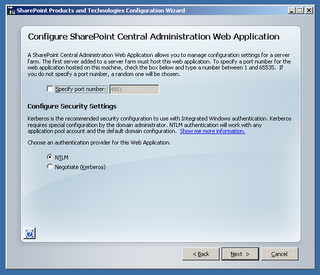
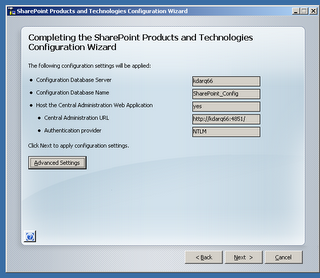
After you have completed the previous steps you will see a summary of the configuration settings which will be applied. Click Next to complete the configuration.
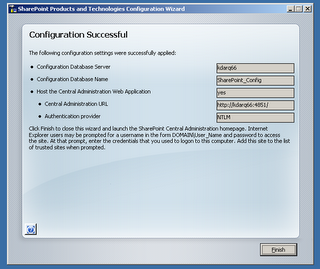
When the configuration has completed successfully you will see the "Configuration Successful" screen.
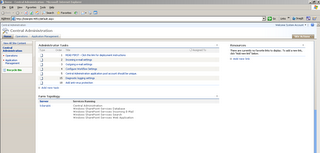
Open the SharePoint Central Administration site , you should see the Administration task list.
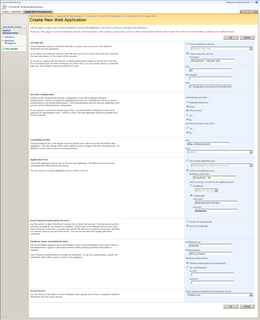
Click on the Application Management tab and click the Create or Extend Web Application. A Web Application is the equivalent of what was called a Virtual Server in Windows SharePoint Server 2.0 and SharePoint Portal Server 2003. When you create a new web application you extend an IIS website to be serviced by Windows SharePoint Services
Once the Web Application has been created, you can create a new site collection.
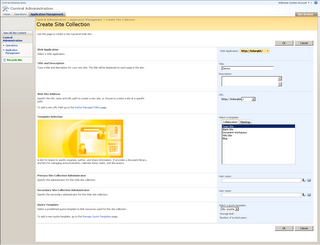
So here you have it, your own nice clean Windows SharePoint Services Beta2 TR site ... happy sharepointing ...

Thank you, very useful :)
ReplyDeleteI have one question, maybe offtopic: how could i extend newly crated site collection to act as www.sitecollection.com ?
Thank you in advnace.
P.S. Please mail me if somebody knows the solution :)
alex.guzun@_re-move_ardaco.com
After installing .NET 3.0 and starting the extracted setup, the installation cannot run because it's missing WF... WF is in .NET 3.0 right?
ReplyDeleteTnx in advance, Zock
This is the most useful post about this topic that I've found on the Web. Unfortunately we already made the standalone install.
ReplyDeleteIs there an easy way to move the databases from SQL Express or Windows Internal Database to SQL Server 2005. PLS Mail me at boris.gomiunik[at]b4contact.com
Good one.
ReplyDelete